MUS 14A • Department of Music • Fall 2017
Introduction to Music Technology
LIU Post • Long Island University
SONAR Project
Working with a DAW (Digital Audio Workstation)
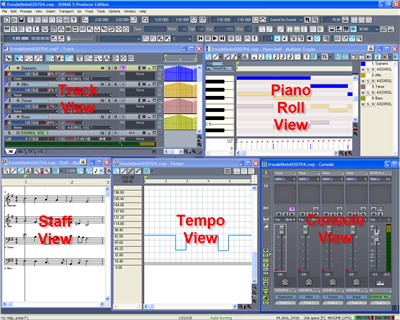
This Sonar exercise contains several parts and should give you an overview of what can be done with MIDI in a typical digital audio sequencing application.
Instructions
- Download this file into your folder. (Right-click on the link and choose the appropriate command from the popup menu.)
- Open SONAR, navigate to your folder and open the downloaded file.
- In Track View, add two new tracks. Label them Soprano and Bass. Reposition the Soprano track by dragging it above the Alto track.
- In Track View, drag the clips in the Alto and Tenor parts to the right so each begins in measure 2. (Necessary in the lab to compensate for timing issues.)
- Open the File menu, choose Save As, navigate to your folder and save your project. Choose Normal as the type.
- Set the MIDI channel and patch for each of the four tracks as we did in our Recording MIDI in Sonar introductory lesson.
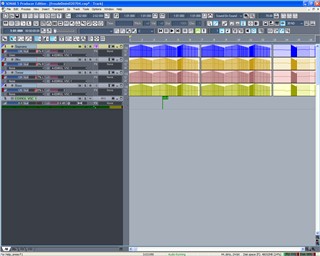
- Using the instructions from our introductory lesson, record the soprano part in real time on the Soprano track. NOTE: Ignore the fermatas and repeats.
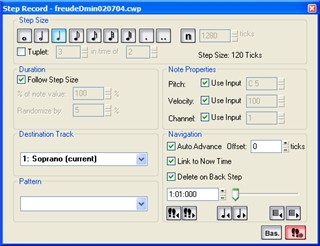
- Next, record the bass part in Step Record on the Bass track.
- Edit the entrances and cutoffs in Piano Roll and make sure your MIDI sequence "breathes"
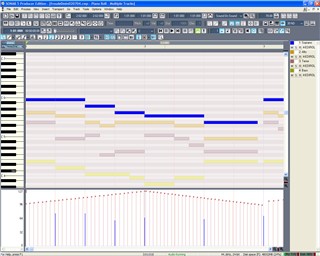
Watch this short video for some basic tips for using Piano Roll - Simulate the fermatas by altering the tempo in Tempo View
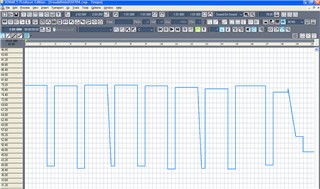
- Mix and set the stereo positions of each part in Console View. Add reverb to each part for a more realistic sound.
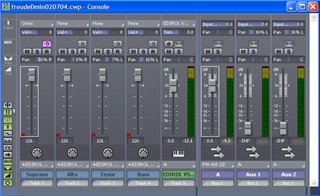
(When you listen to an instrument playing, you hear the instrument AND the room in which it's being played. Reverb can be used to add the sound of the room, making the instrument sound more realistic.) - When your project is complete, email JM the Sonar and MIDI versions of your project. Ask JM for help saving the MIDI version - which is very easy to do.

